Tech; Ramairbox Install (with KnN FIPK) Go to Pg 2
|
These instructions may not pertain to your Ram but they may be helpful as a guide for what to expect. |

Tools Used;
|
|
|
Parts Used;
|
|
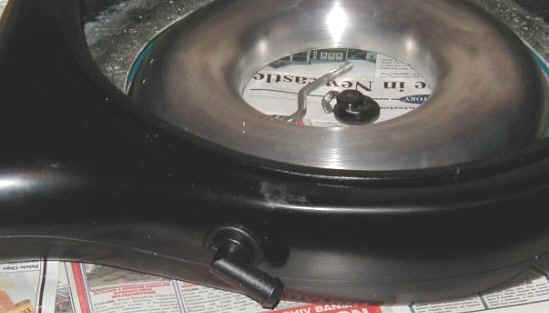
First it was necessary to test fit the drop base and airbox on top of the throttle body. To pass emissions you have to have the crankcase vent breather tube hooked up to the box to pass the visual. Benefit of hooking the breather up is it keeps the box from moving and the wing-nut from backing off. I marked the box where I felt the connection should be, leaving enough hose to connect it easily. |
|
|
|
Taking a 3/4" drill bit I carefully and slowly drilled a hole in the side of the box. Hole tends to be a little rough and may shatter it you go to quick so I used a dremmel tool to smooth it out to the desired dia opening.
|

|
 |
 |
|
|
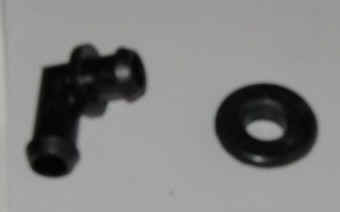
After installing the grommet and heater hose elbow the automotive trim went on the top inside edge.Little hard to see in this one. It helps reduce the upper opening to slightly smaller than the K&N chromed 14" top. Also sanded the bottom off the box for weather stripping under the filter. No picture but I added a gasket under the box on top of the drop base to seal that area better. RTV sealant or sylicone could also be used. |
 |
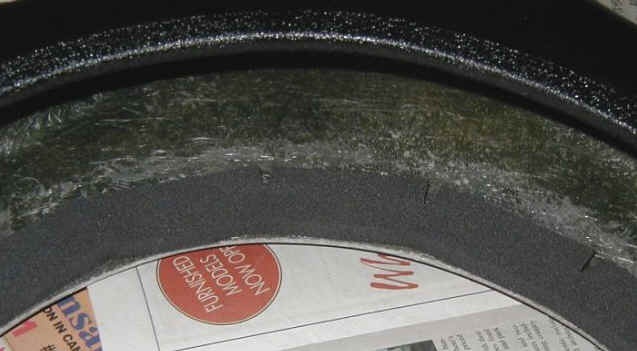
With the FIPK filter it sits low in the box and was tending to move. Foam under the filter would raise it, seal it to the bottom and stop it from moving. Test fit the filter inside the box then marked the location. I used the 1" wide x 5/16" high rubber/foam weather stripping. Because of the width of the tape I had to slice the outside to allow it to bend to the opening.
|
|
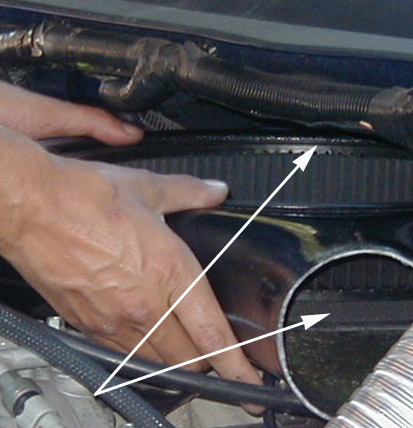

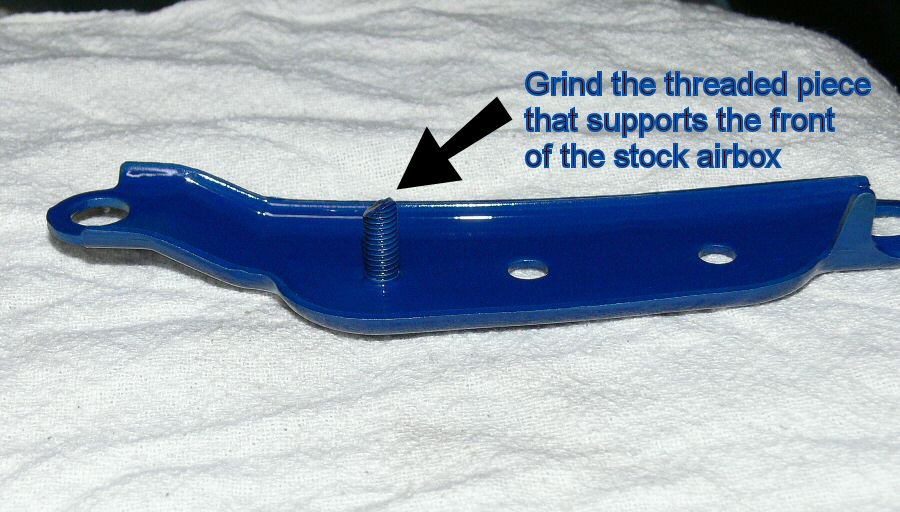
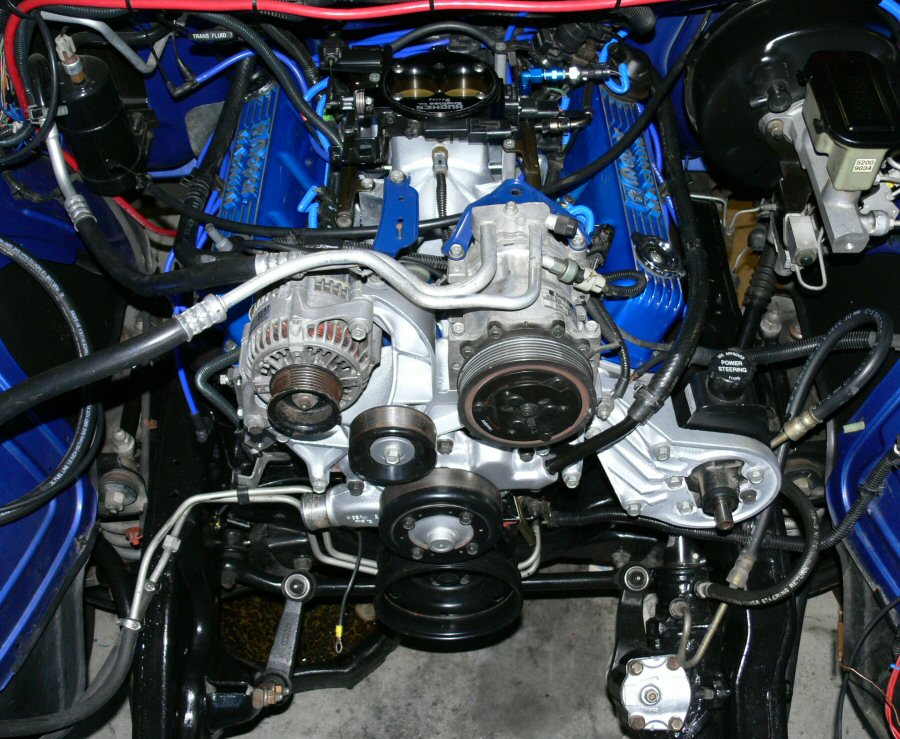
The weather stripping on top helped seal it up pretty good and gave it a finished looked. Look on the bottom left, you see a small post coming up from the blue colored bracket that you will probably need to grind. See below
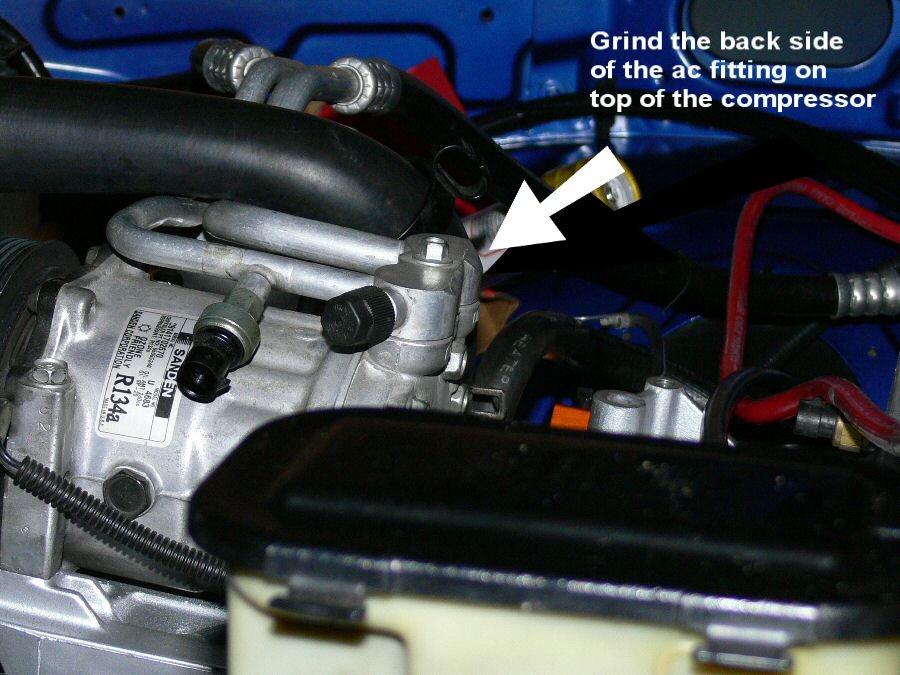
You may or may not need to grind above. Below the alternator bracket may also need grinding.
You can see the small post below just behind and right of the alternator
|
 |
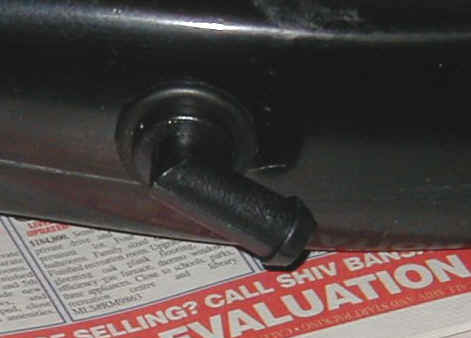
After cutting about 4" off, the hose for the breather connected right up and helped secure the box better
Bend the drop base while installed front to rear to get clearance at the front of the box if neccessary.
or
