Tech; Electric Fan Install
|
These instructions may not pertain to your Ram but they may be helpful as a guide for what to expect. |
| Required Tools; |
 |
|
|
|
|
It does pay to read the instructions over carefully and make sure you have all listed parts and all required tools for the install. Not much fun getting halfway threw a project to find out your missing a part or tool necessary to complete the job. As my truck is lowered, I raised the truck up on jack stands to give more room underneath.
First remove the stock viscous fan. On my truck this proved to be a little tricky. Shroud has to be left on till the fan comes off. As I have 3pc pulleys I had to remove one bolt from the front of the water pump pulley. I couldn't get my 14" adjustable on the large nut without doing this. I also had to make a pry bar from .25"x1 1/2"x24" flat steel. Notched out the end of it so I could hook it on the bolt heads of the pulley to hold the fan from spinning while unlocking with the adjustable.

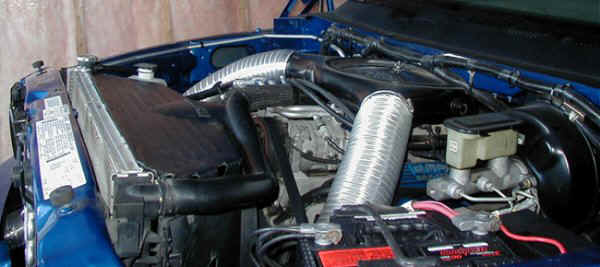 |
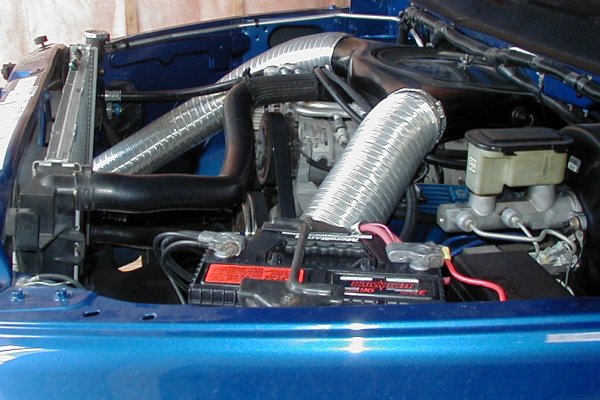
The shroud can be re-installed after but it is necessary to remove it to install the electric fans. I started by removing the windshield washer reservoir and pump. Drain off washer fluid then disconnect electrical connector and hose to the wipers. A firm pull upwards will unlock the reservoir from the shroud. On the other side disconnect the hose from the overflow bottle from the rad. If you plan on not re-installing the shroud remove the overflow from it. |
|
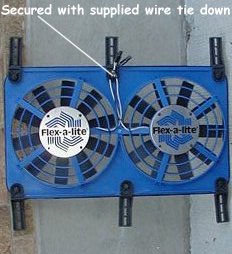
Once the fan and shroud are removed its time to mount the support bracket to the fans (snug but not tight) Be sure the top middle bracket has the power wires tied down to it. |
 |
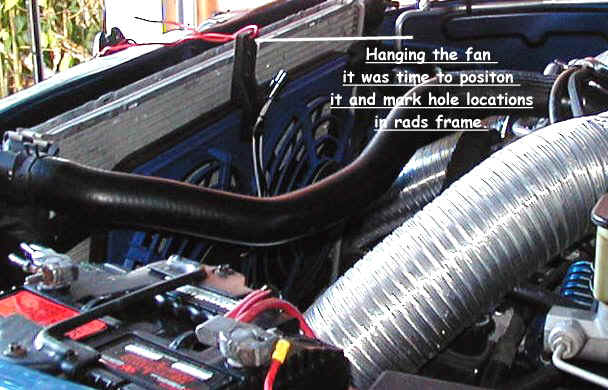 |
After installing brackets test fit on the rad to make sure everything will line up. I used a wire threw the top bracket and hooked it on the hood latch to help hold it in postion. Another pair of hands would help here. Be sure the fans spin freely and don't rub or hit the rad. |
| When positioning fans make sure they are centered in relation to the rad and the motor. You dont want them sitting too low or off to one side. As it turned out, it centered top to bottom by resting the mounting brackets on the lower cross frame. Use a punch to indent the rad frame for hole locations then carefully drill with the 13/64" bit. Repeat for the brackets at the top and be sure to tighten all mounting hardware. Again, double checking the fans spin freely. | 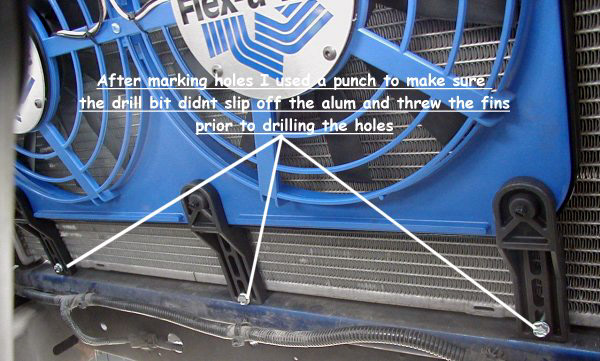 |
 |
|
